The “Procedural Water Surface” is a case-study on Procedural Geometry that I made while experimenting with c# in Unity3D. What follows is a presentation of this case-study and, more specifically, of “how you can make an animated water surface in Unity3D, using only c# code”.
the backstory
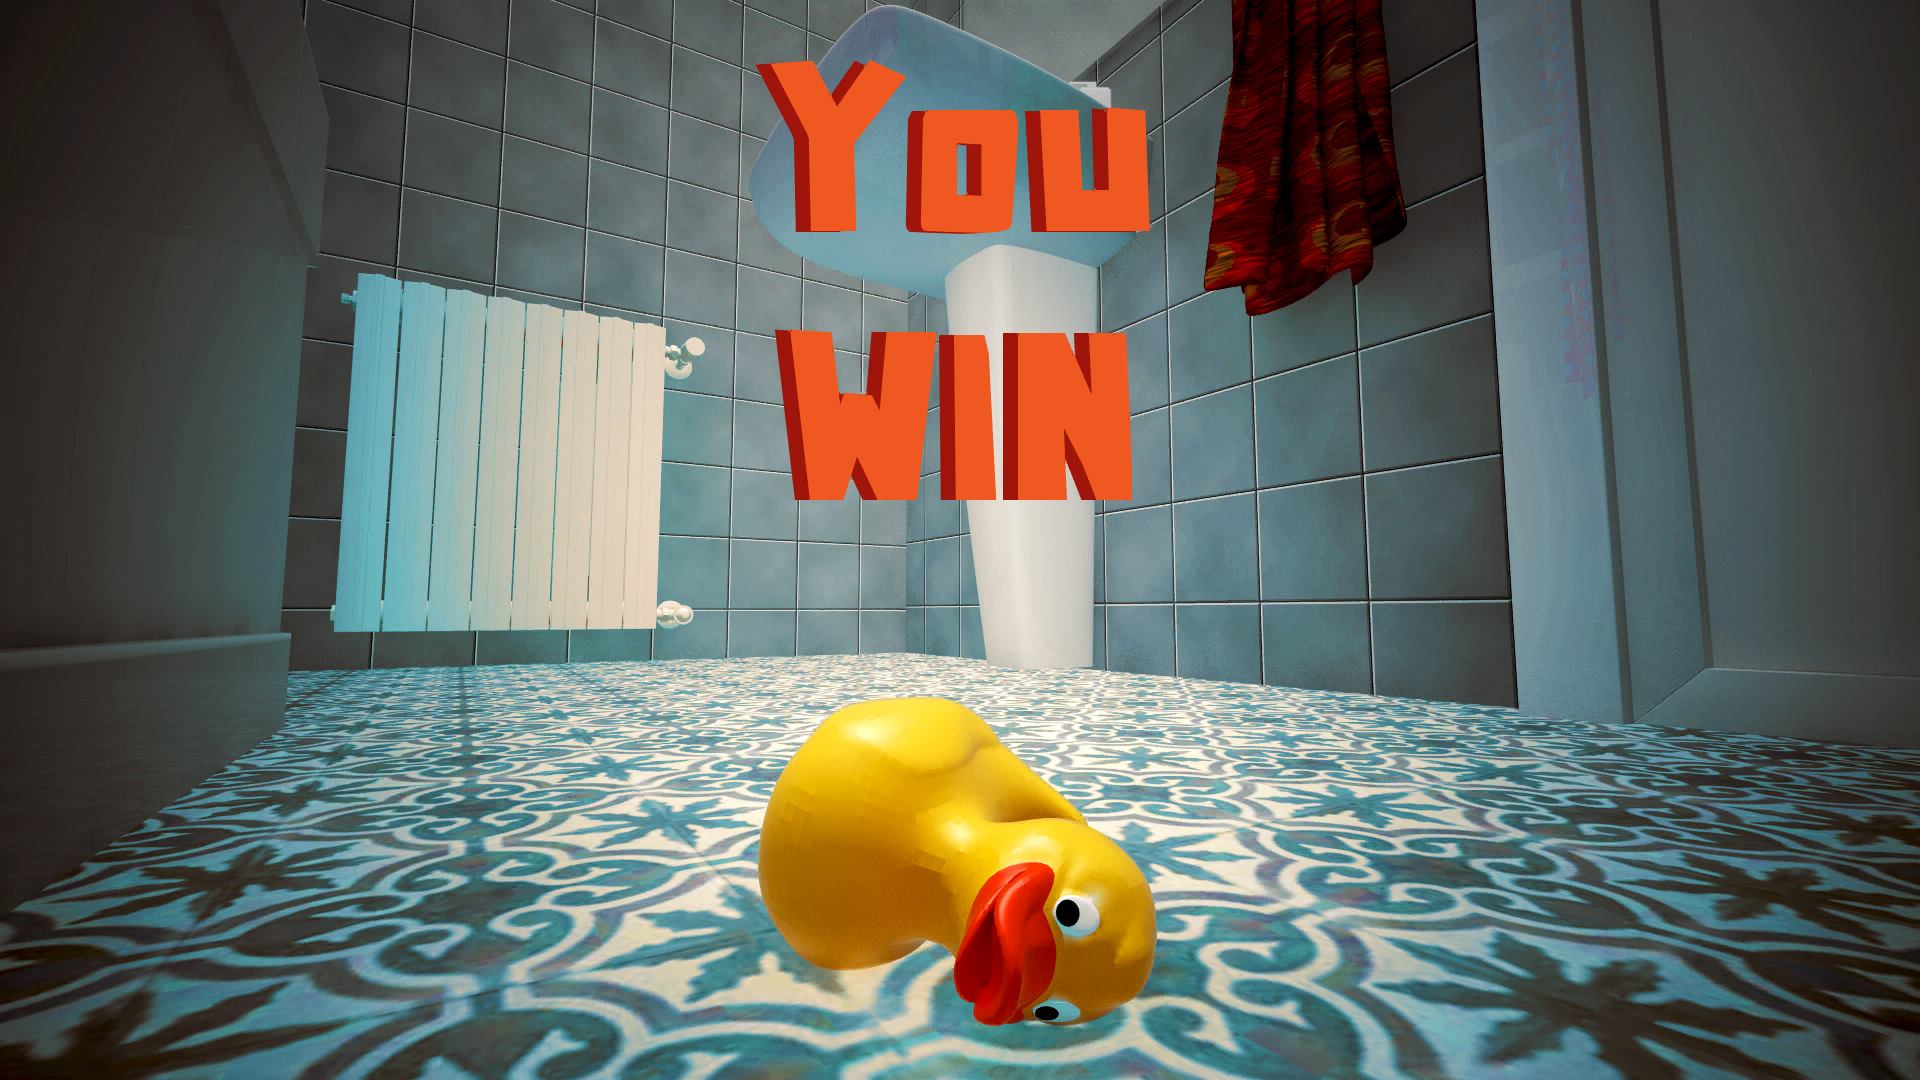
This example’s backstory began during the last Global Game Jam® (January 20-22, 2017) in which I took part as Parabol team’s Unity programmer. This year’s theme was “Waves” and we, as a team, decided to make tiny game called “Esc The Tub” in which “You must help a rubber duck escape the bathtub by riding the waves produced by your annoying, floating enemies”. If you follow the link to the game’s page you will find the executable for windows, the entire Unity Project, as well as some information about the people that worked on it.
The game’s mechanic was mostly based on a code-generated water-surface and the way that the player and the other characters interact with it. My main task, during the event, was to generate the water surface, as well as the “physics” of the interactions. After applying some basic math (mostly sinusoidal functions) and some (pseudo) physics that resemble the mechanics of buoyancy (so that the objects would actually float), the game got to a point where it was actually playable, and that was part of our little “success”, given the time-limitations of the event.
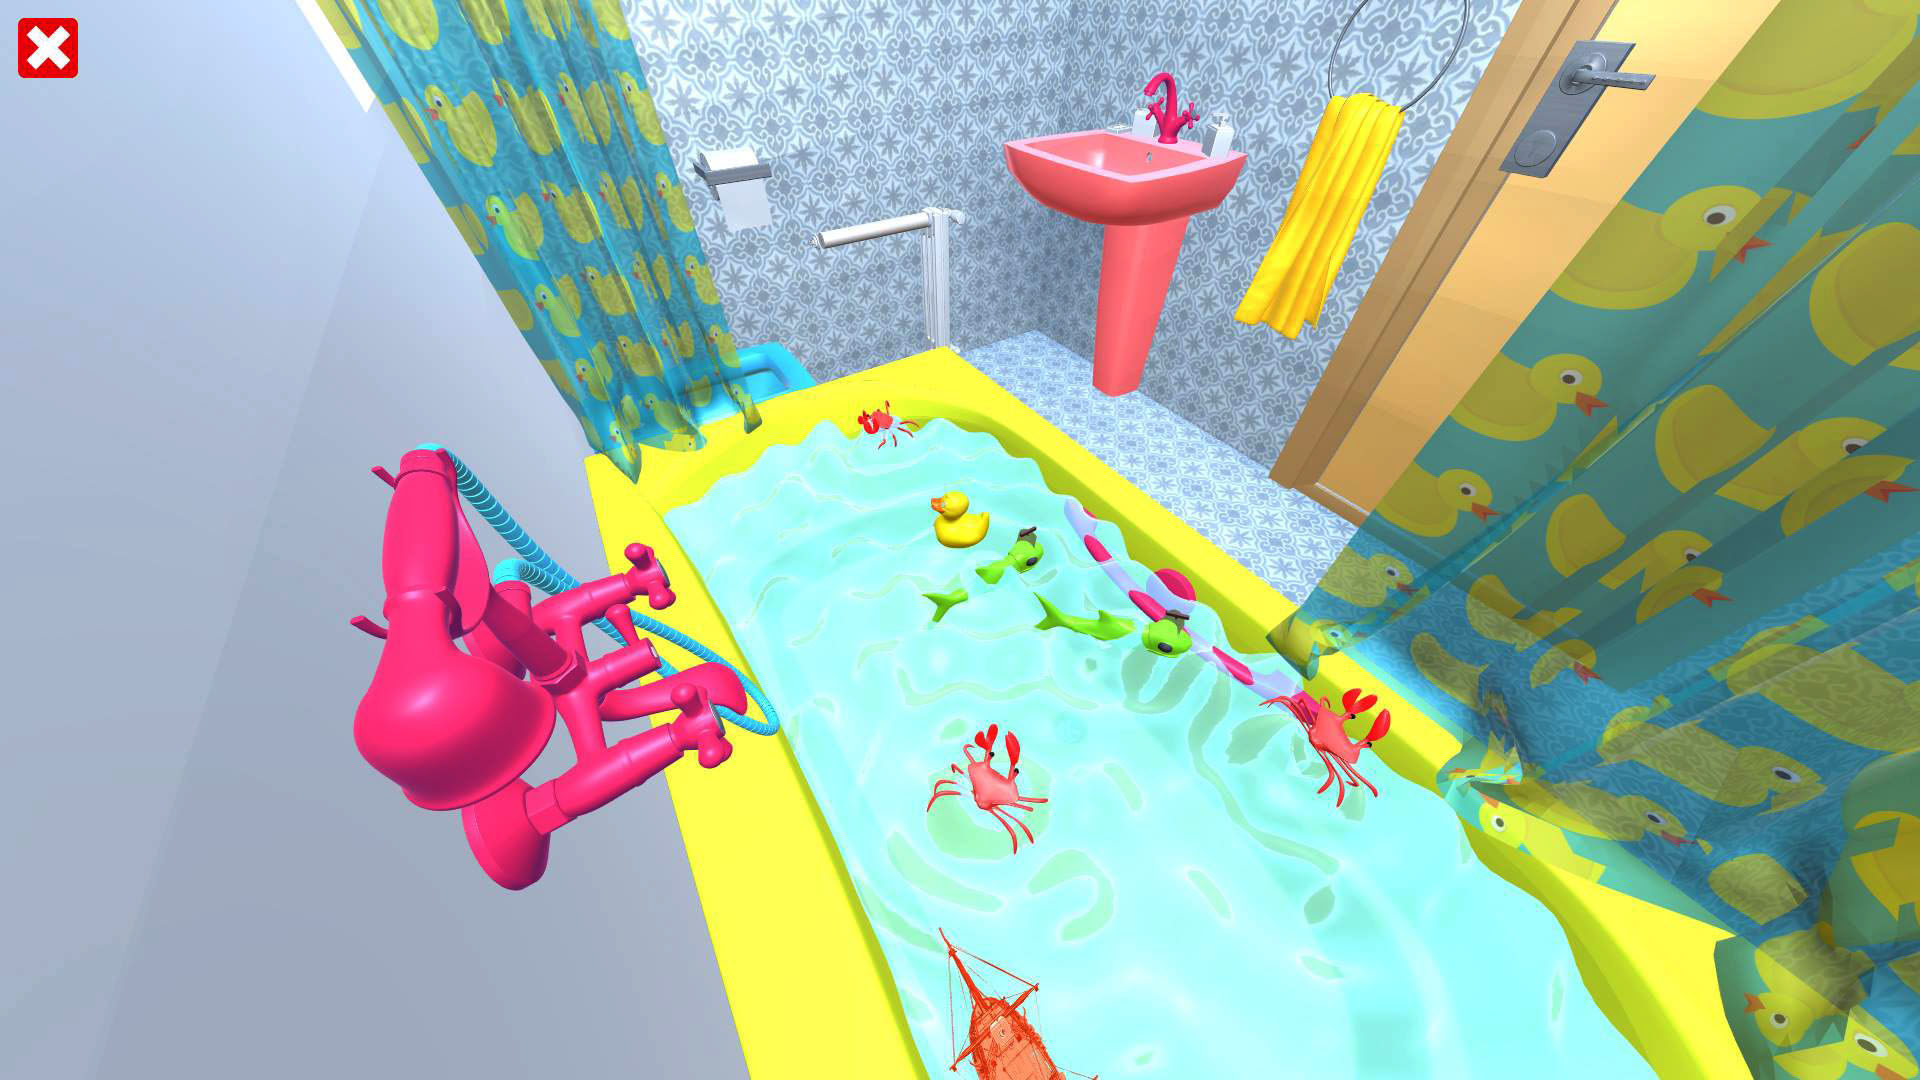
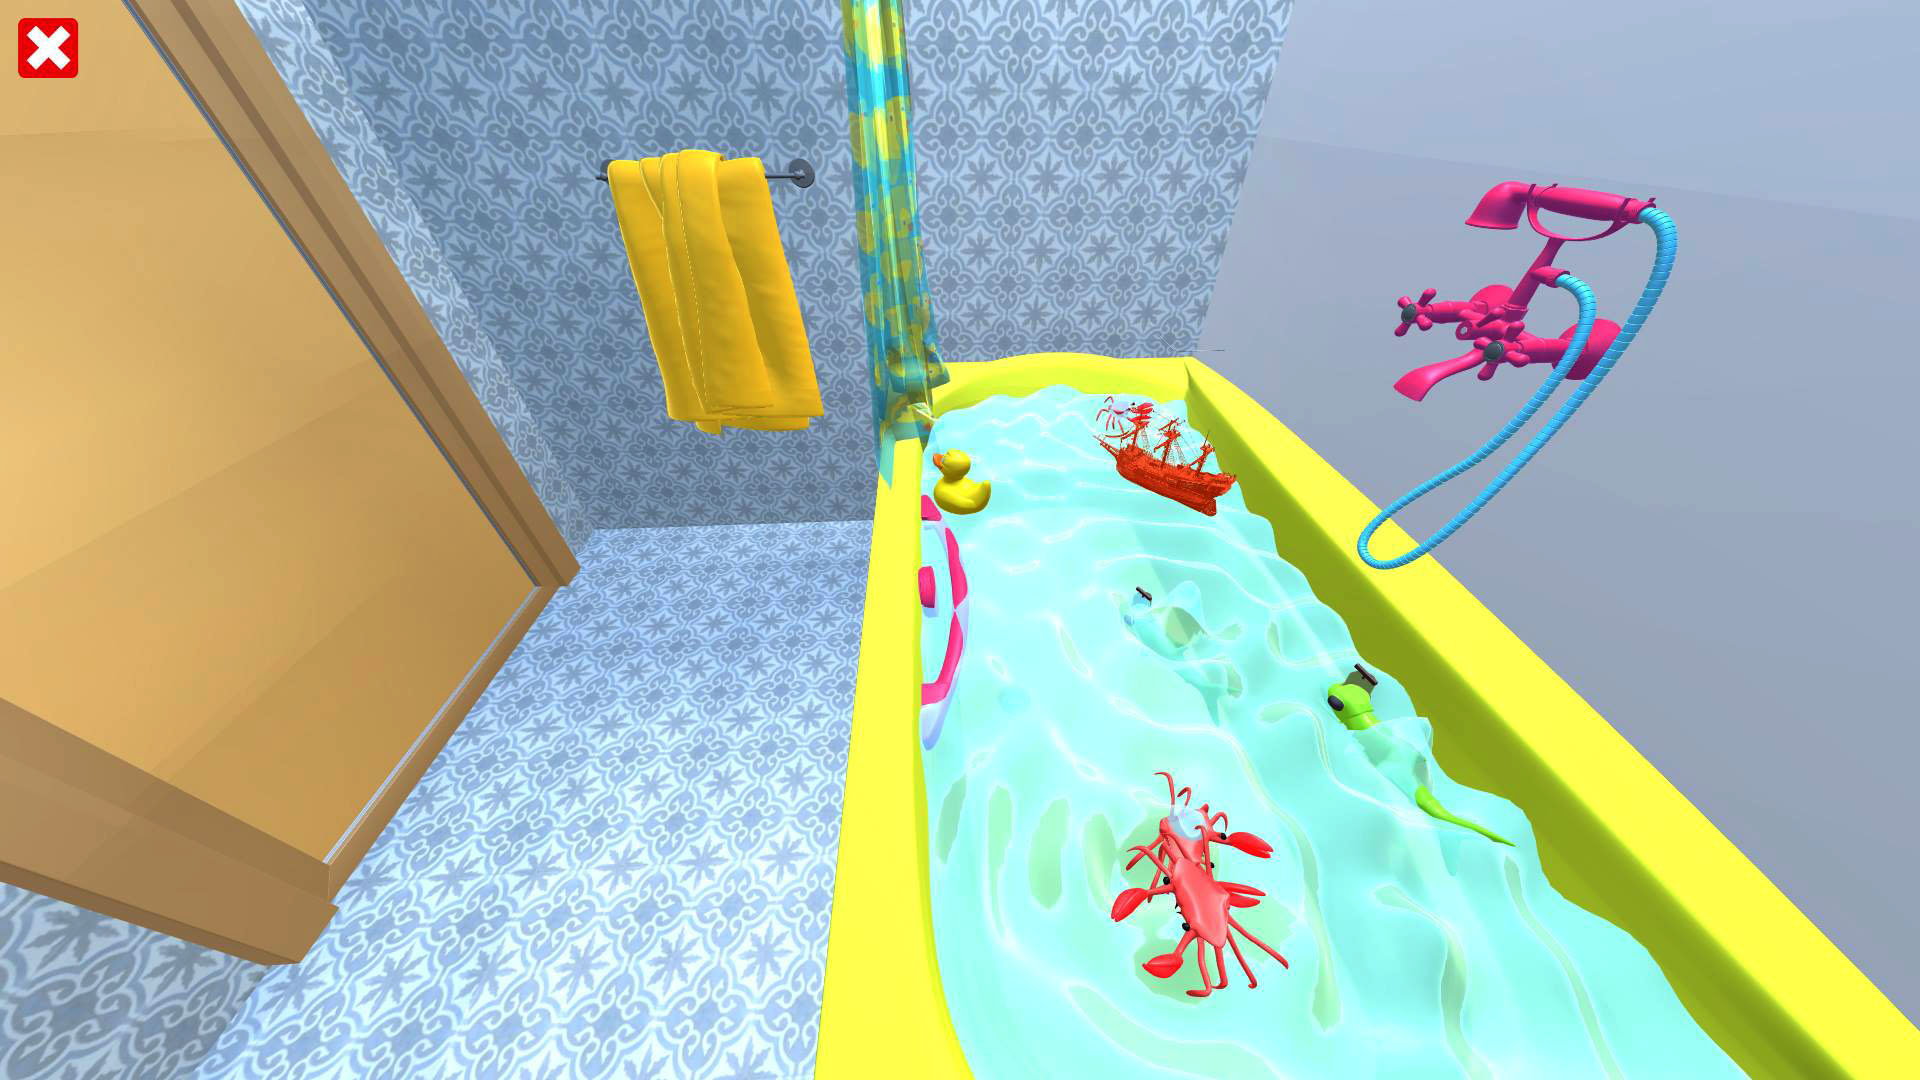
a collection of snapshots from “Esc The Tub”
about this example
Around two months after the Game Jam (as of today), I decided to revisit the game’s source code in order to take another look at the procedural water surface, study it a bit more and, perhaps, make something reusable out of it.
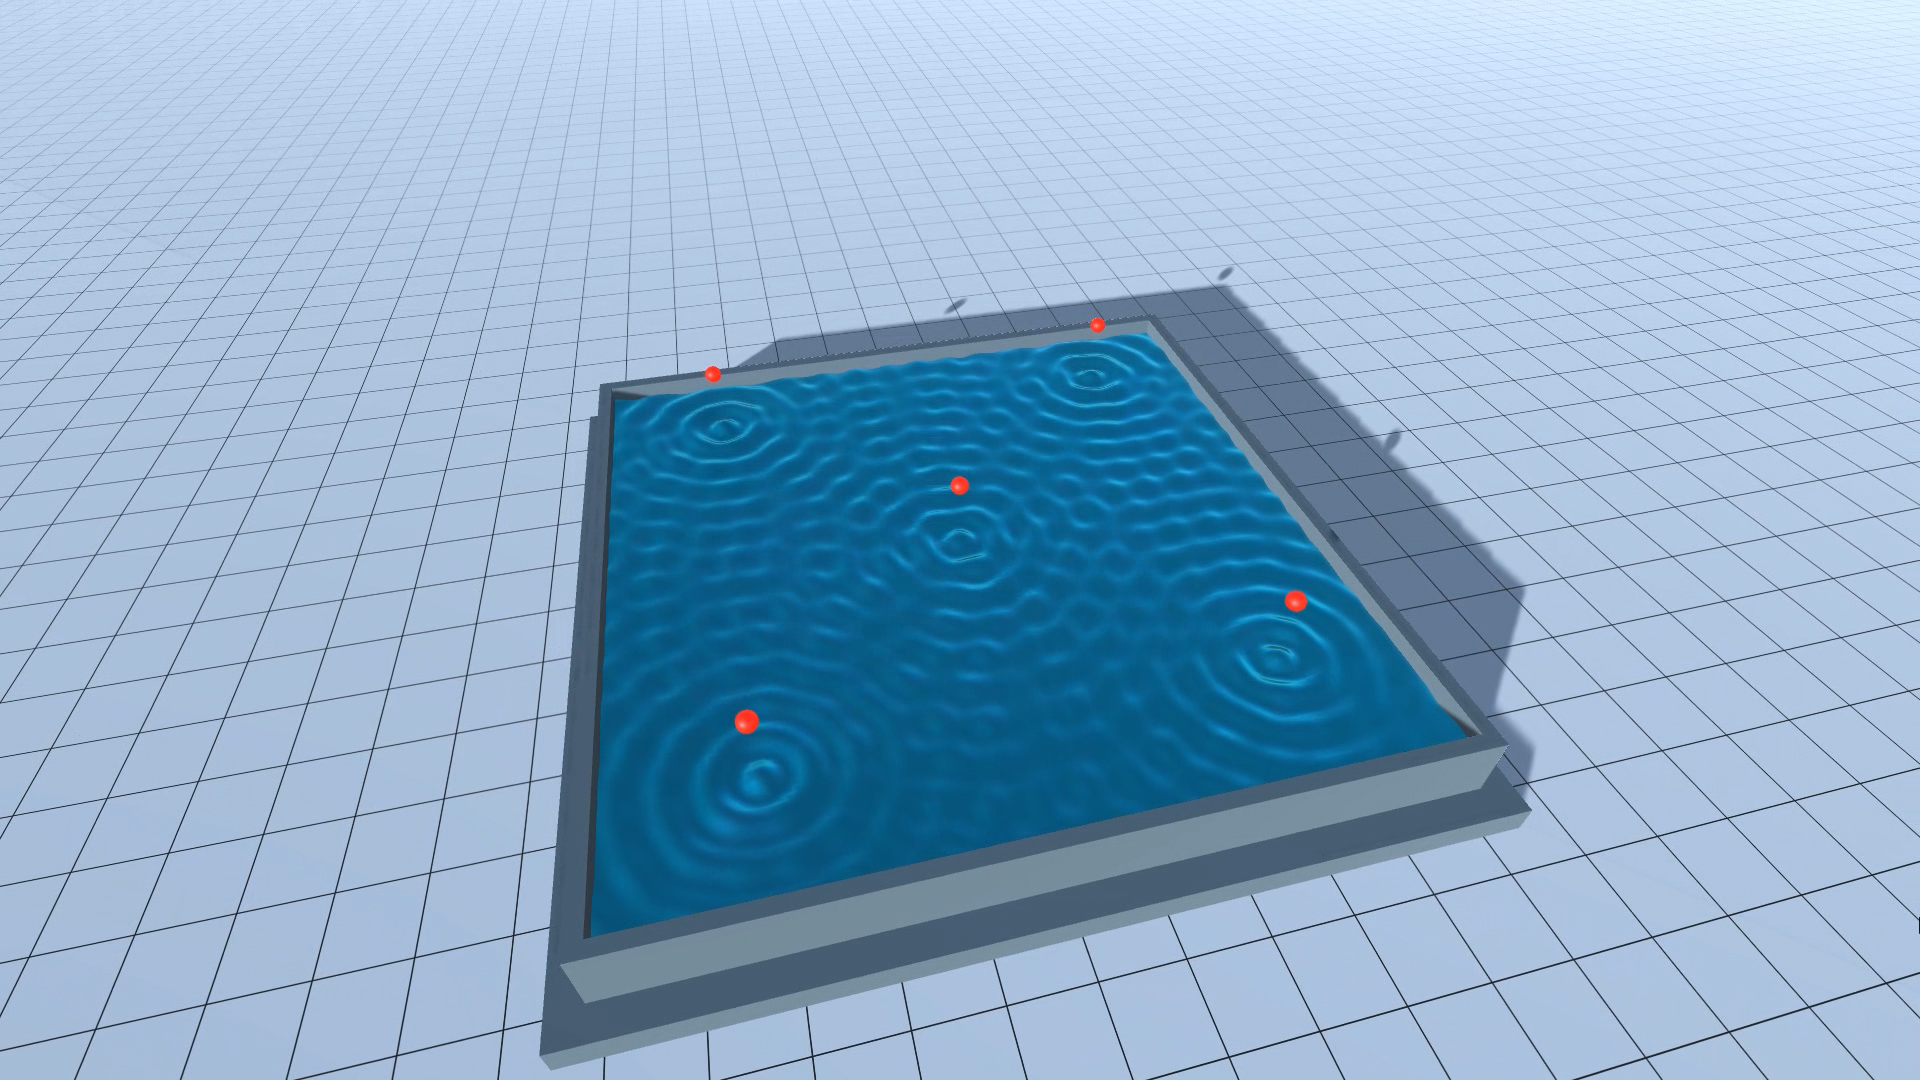
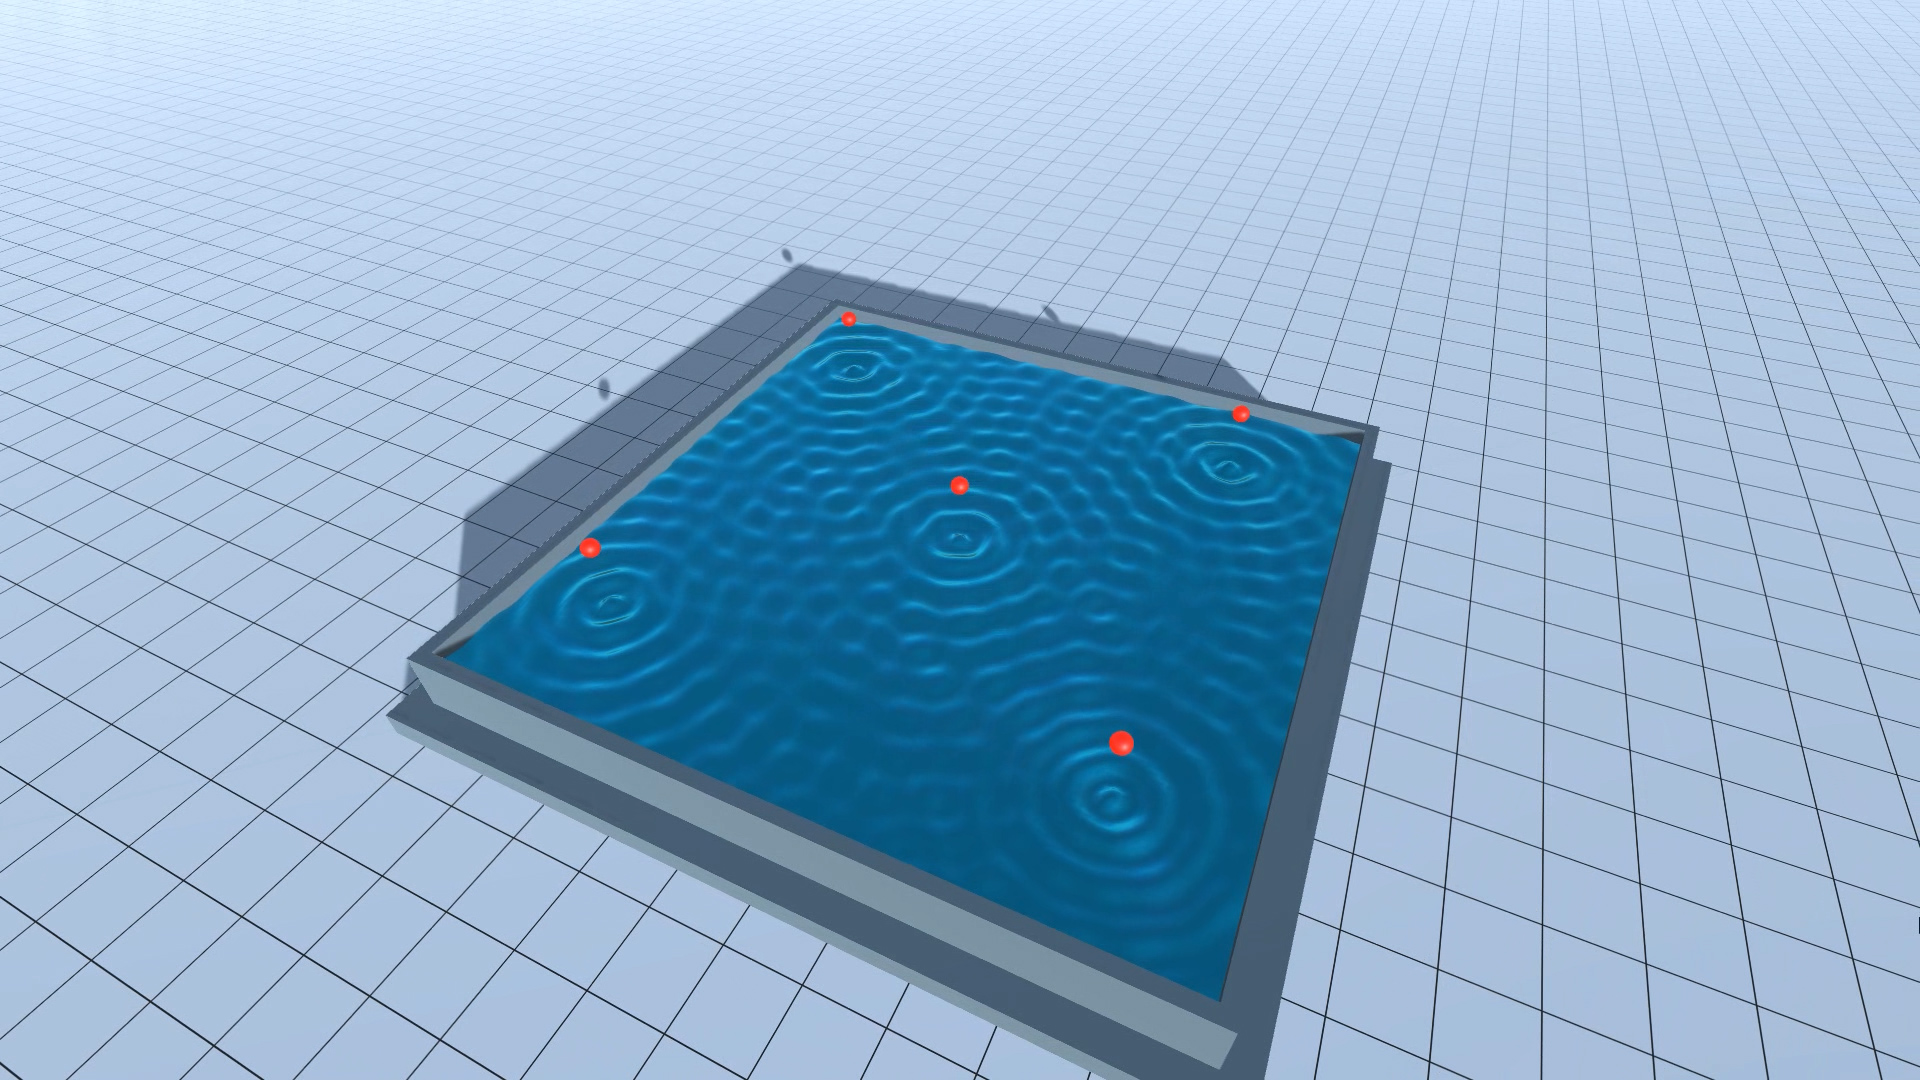
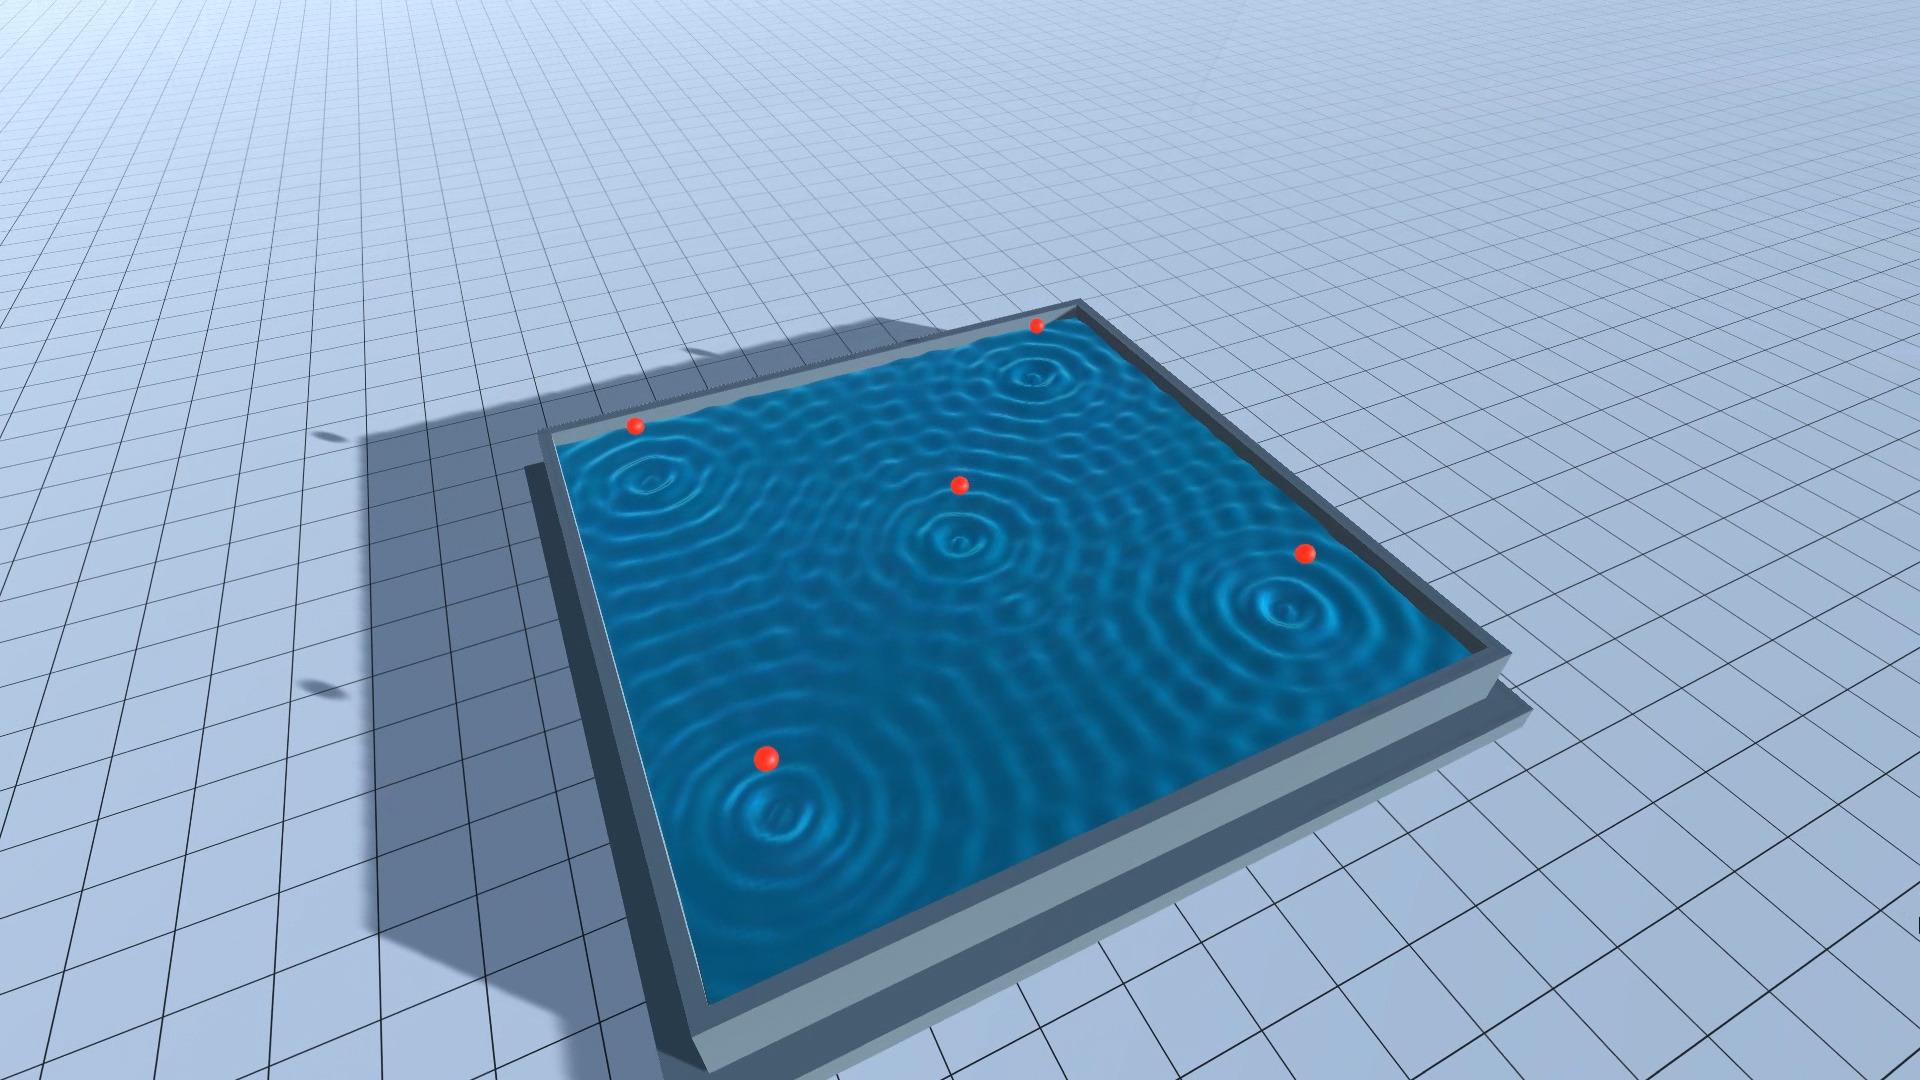
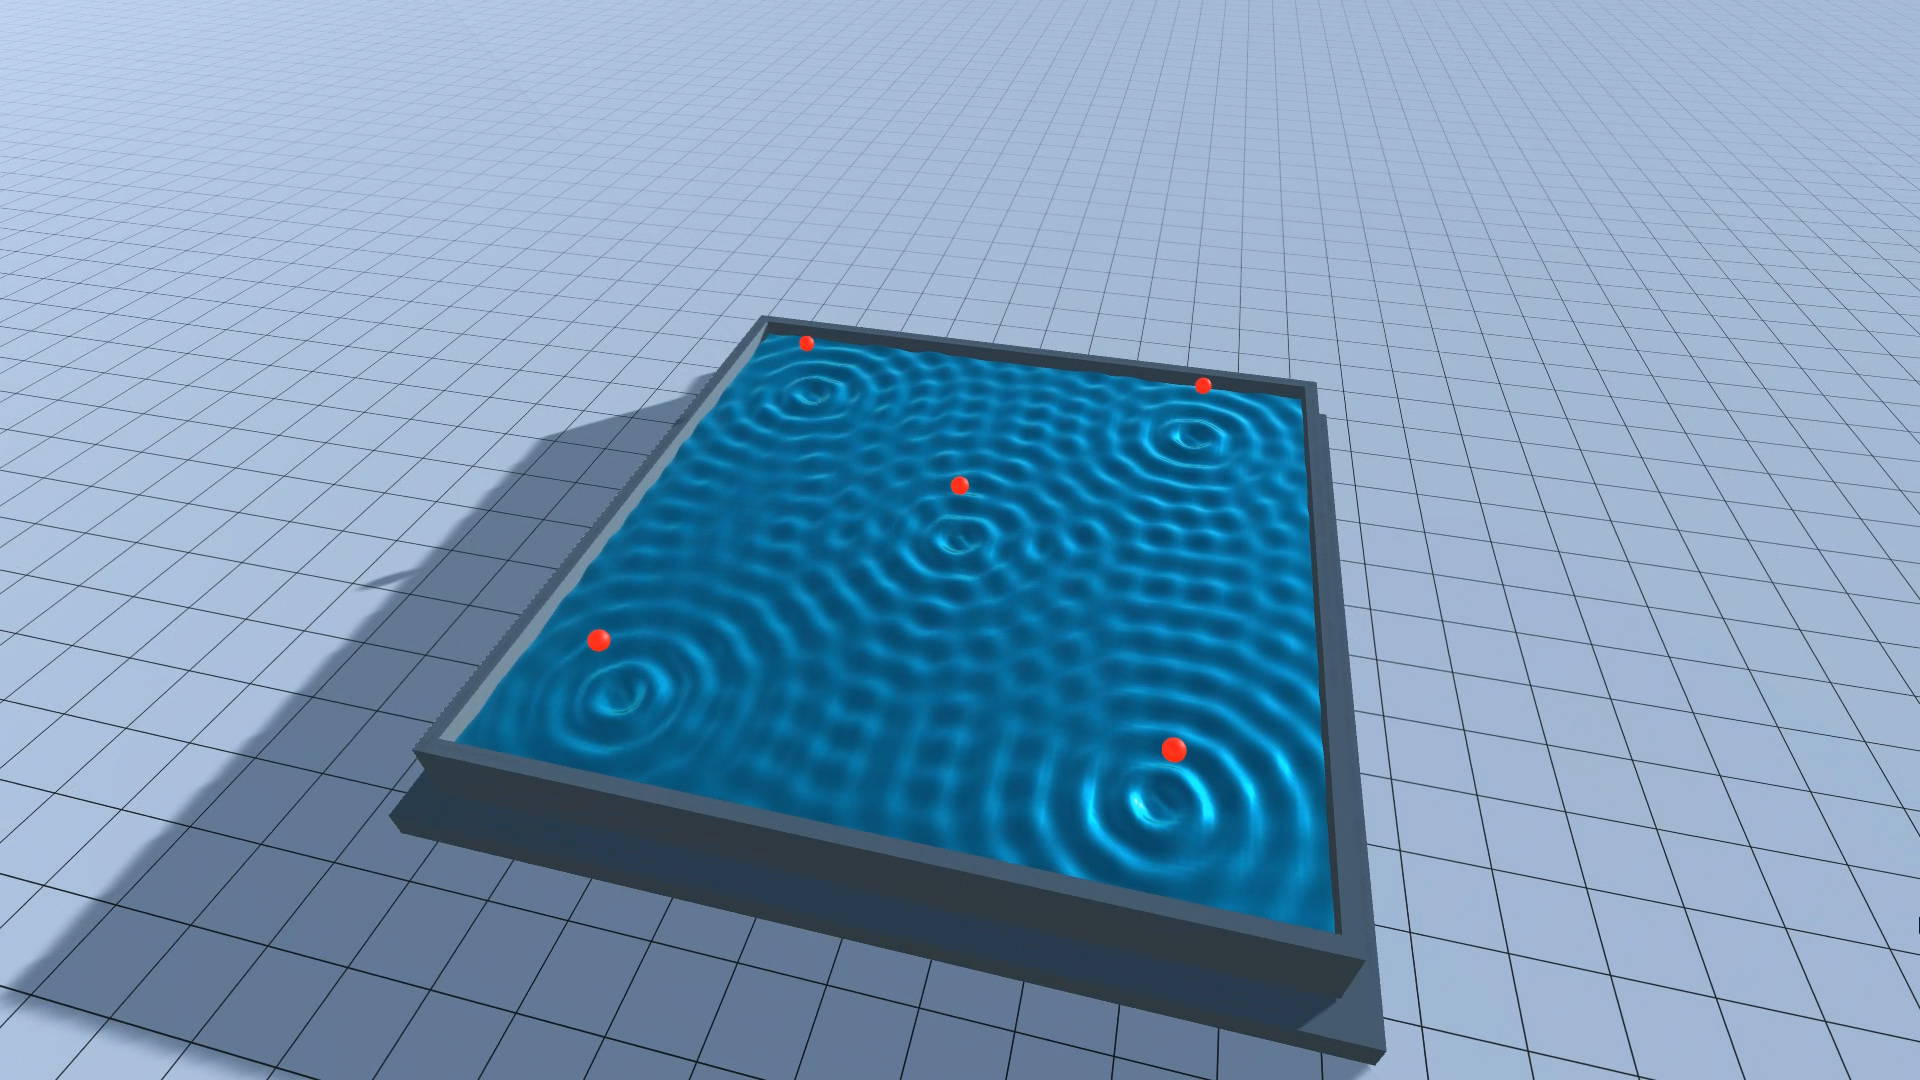
So this example is, in some sense, a clarified and simplified version of Esc The Tub’s water surface, presented as a case-study of procedurally generated geometry, as well as a guide for anyone that might be interested in studying and / or developing it further.
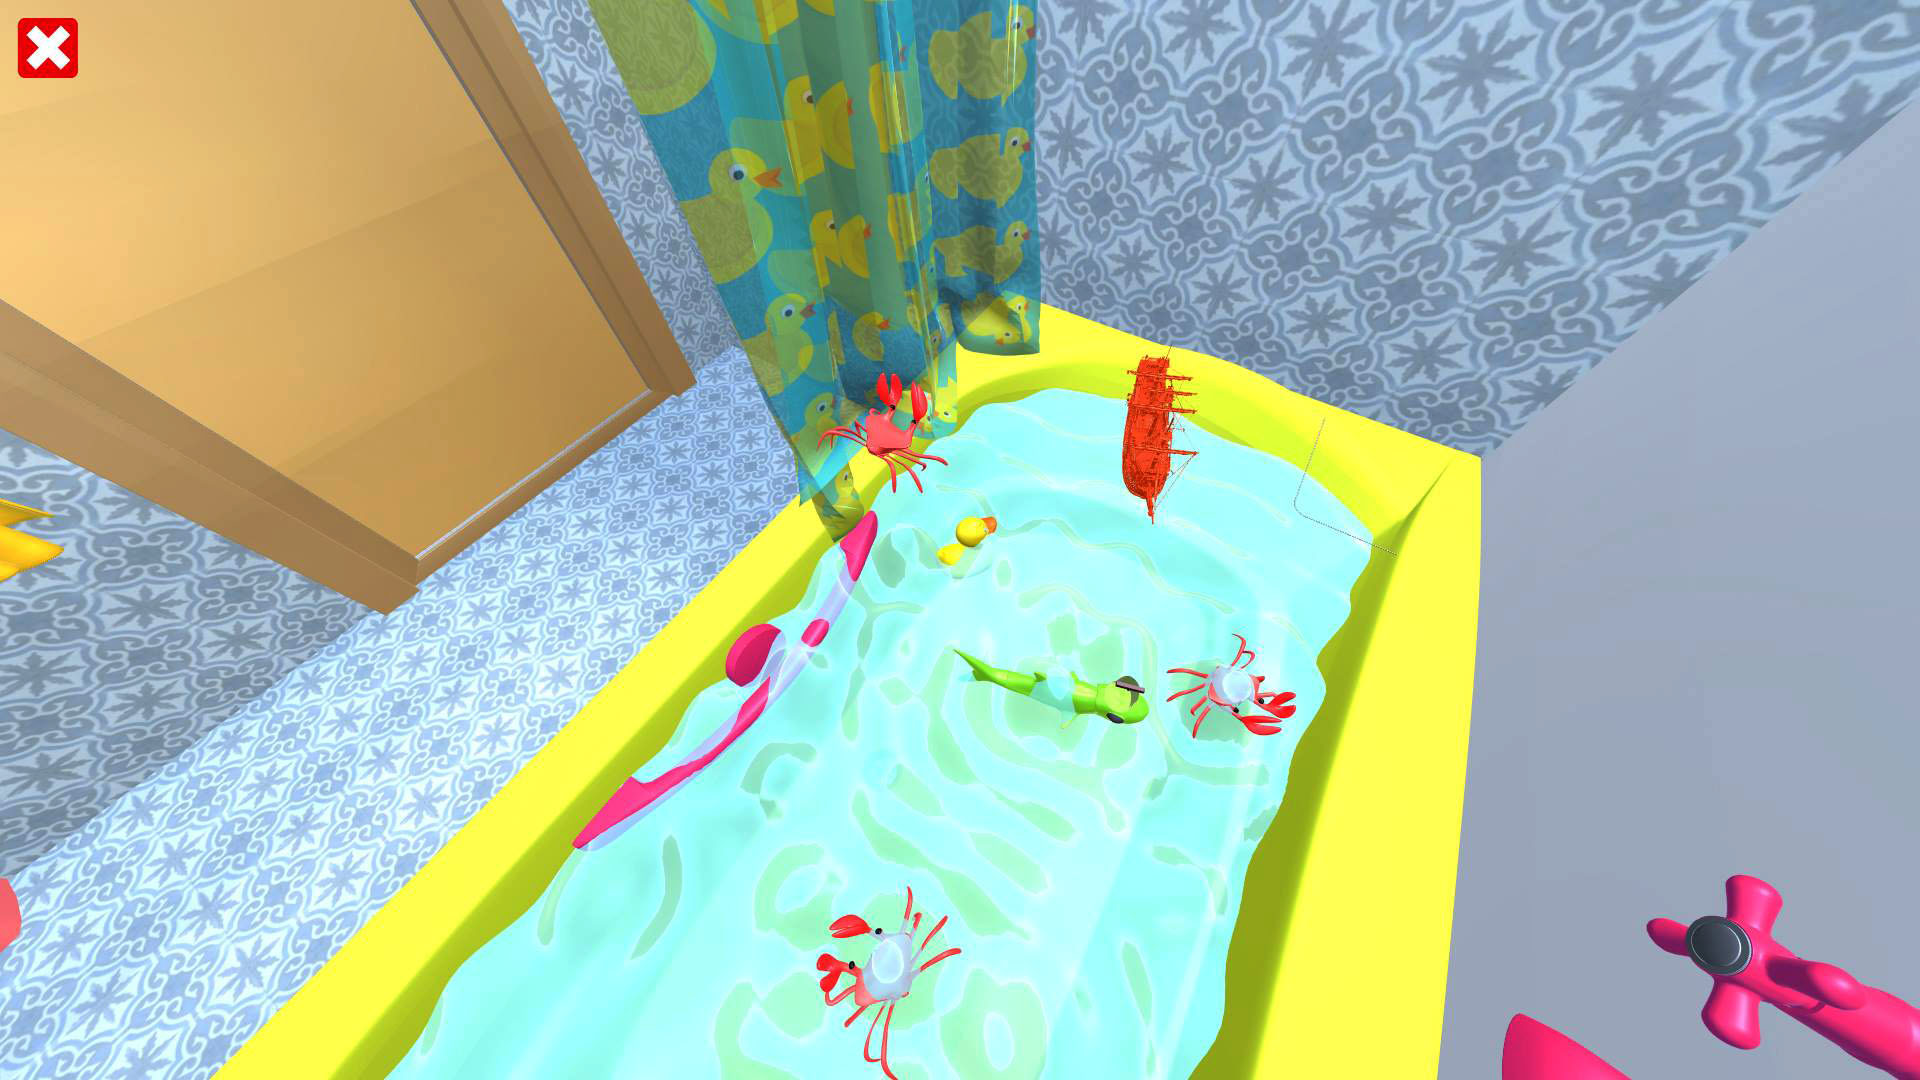
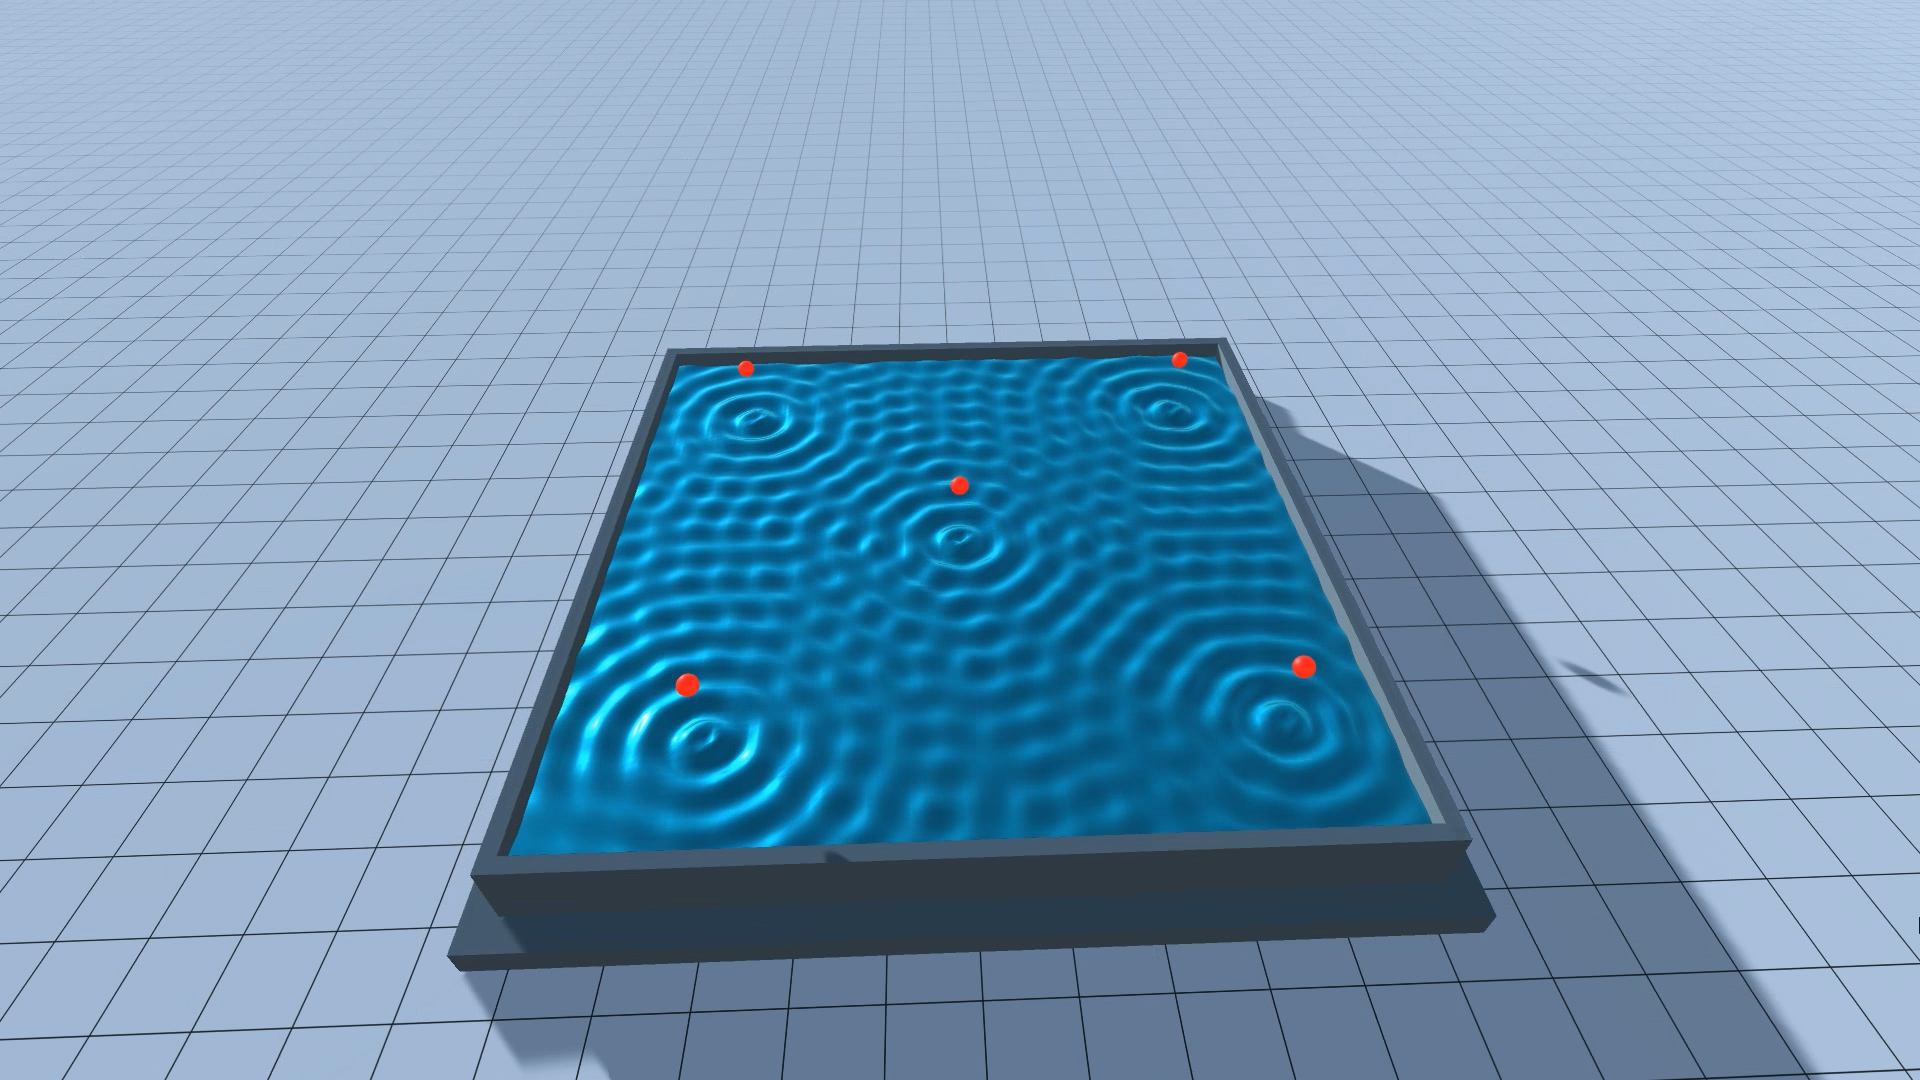
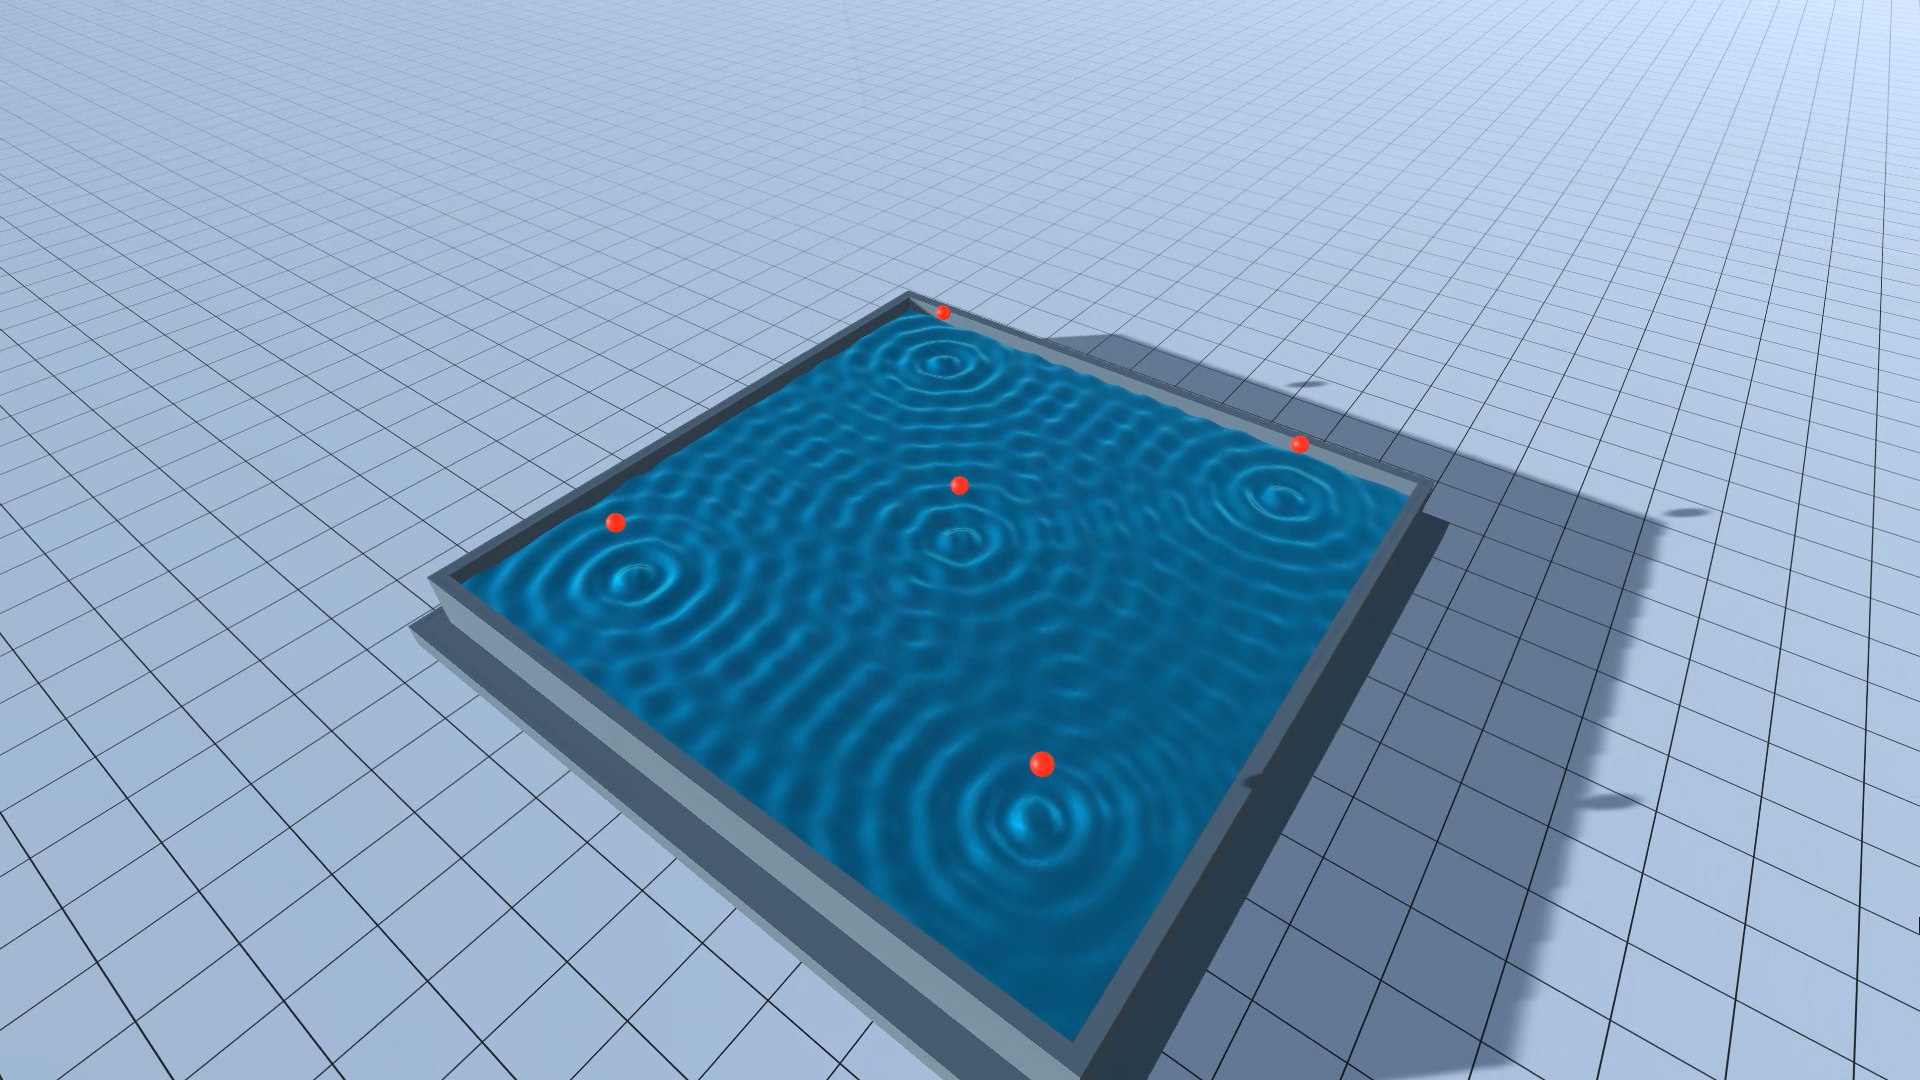
a collection of snapshots from the “Procedural Water Surface” case-study
programme flow:
Before you go ahead and start reading the c# source-code, here lies a rough description of how the programme works, described in human language:
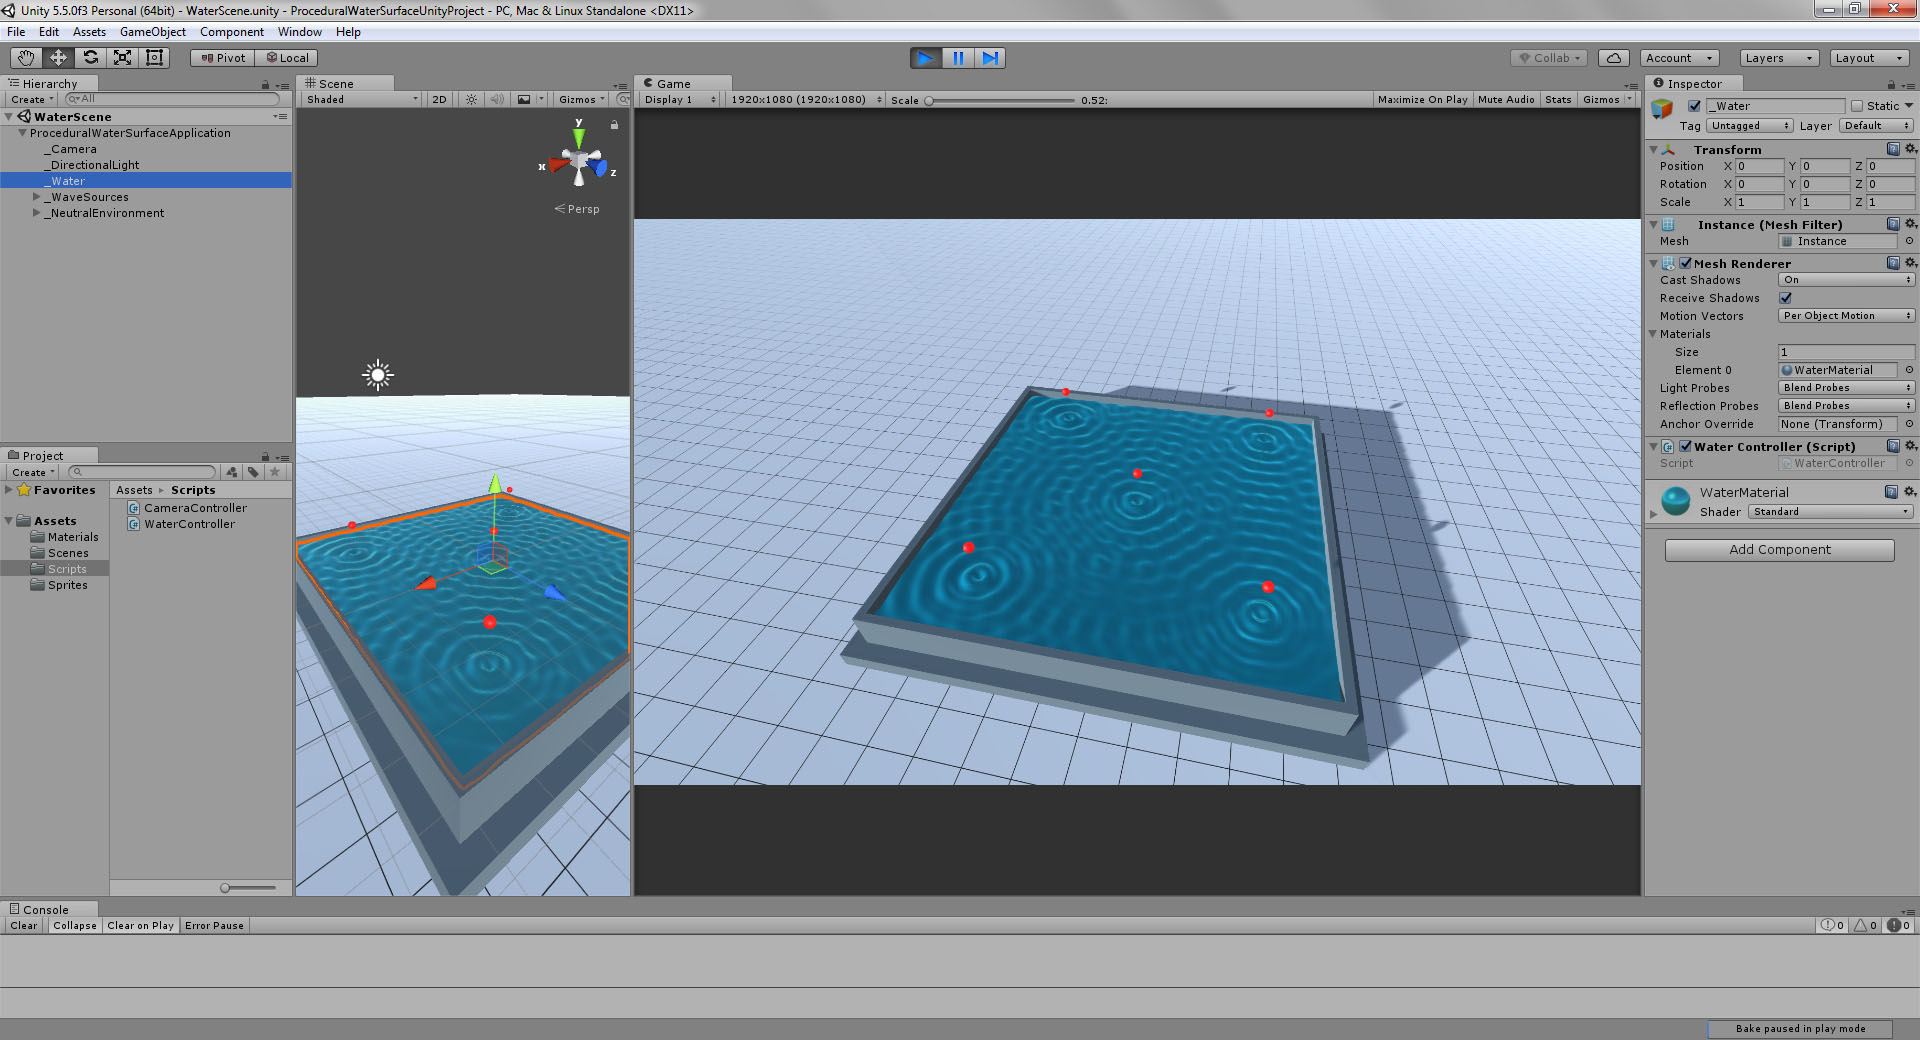
- There is one class that does most of the job. It is named “WaterController” and it sits on top of a GameObject named “_WaterController“.
- When the application runs, the WaterController constructs a grid-mesh that extends along the X and Z axes (it starts out as a horizontal plane inside Unity’s coordinate system).
- The grid-mesh’s vertices are fixed in place along the X and Z axes, but can be translated along the Y – axis (vertically).
- There is a number of GameObjects in the scene that are tagged as “wavesource“.
- The WaterController collects the positions of the wavesources and stores them in a list.
- For each one of the wavesources’ positions, the WaterController applies a sinusoidal function to each one of the grid-mesh’s vertices, in relation to the distance between them.
- The sinusoidal functions applied to each vertice are added up and updated in every frame, resulting to an aggregate, animated wave-field that resembles a fluid surface.
the source code:
There are two ways for you to start using / studying this example-project. Option 1 is to copy the source code from below and use it in your own Unity project, and option 2 is to download the entire Unity Project from my github account.
option 1: copy-paste (DIY)
If you choose to copy the code (below) and make your own Unity Project from scratch, make sure you follow those steps to ensure that everything will work as expected:
- Inside your Unity project, create a new – empty GameObject and and name it “_WaterController“.
- Add a MeshFilter and a MeshRenderer component to it.
- Create a blueish material, name it WaterMaterial and apply it to the MeshRenderer by dragging and dropping it on the _WaterController.
- Create a new c# script, and name it WaterController. (This is important! The script’s name must be the same as the class’s name)
- Open the script, copy the source-code from below and paste it inside it, replacing everything else.
- Create at least one more GameObject in the scene, name it _WaveSource and apply to it the tag “wavesource” (after you create the tag, yourself) so that it can be detected by the WaveController.
option 2: get the entire Unity project from github
I would recommend that you download the entire unity project from my github account, because (a.) – it is easier (you do not need to worry about the steps above), and (b.) – you will definately have the latest version, in case I make some adjustments. So go ahead, visit my github account, clone the project and start playing with it! Here is the link to my Unity3d-Coding-Examples repository on github, inside of which you will find this case study in the folder named “1-Procedural-Water-Surface”.
The WaterController class (c# code)
about procedural geometry in Unity 3D
Unity3D’s main tool for creating your own mesh objects by writing lines of code is the mesh class. If you follow the link to the class’s reference you will find some very generic examples of its usage upon which you may start building your own tools.
If you wish to explore some more examples there is, of course, Unity’s own Procedural Examples Asset Pack (available in Unity Asset Store) which you may download for free and explore their source – code. They are quite well documented, but keep in mind that most of them are coded in javascript (not c#).
If, on the other hand, you need a more guided tour, I would suggest that you find a tutorial. Google is your friend, to state the obvious, and even Youtube, as well. One tutorial series that I found very helpful is offered in a website called catlikecoding.com, where you may follow these examples: procedural grid, rounded cube, cube sphere, and mesh deformation. These are some of the most well-presented and analytical examples that I have found online on the subject, for free.
Feel free to ask questions and / or make comments!

Thanks for the informative post and source code. What if there was another mesh under the water mostly parallel with it. Let say the wave mesh distortion was multiplied by a scale factor of the height of the sea floor beneath it. What I am asking for really is a Bathymetry (Oceanography) simulation.
Hello, Regan
First of all, what you are saying is definately doable. It should not be hard at all to add one more “layer” of information to the waves-production algorithm. Also, it would be quite easy to create the second mesh, which would be something like an “underwater landscape” and then get the height-values from it and use them on the wave-generator.
By the way, I am currently working on a minimal Landscape-Generator which I will soon add to this github repo: https://github.com/konsfik/Unity3D-Coding-Examples
Keep in mind, though, that this example is “not exactly a simulation” (meaning the way that the waves are produced in this examples does not arise from a model of physical laws, but rather from a mathematical modelling that tends to resemble some of its physical properties). So, if you wanted to actually make a simulation, apart from creating the underwater landscape and modifying the algorithm so that the landscape affects the waves, one should also revisit the wave-generation-part.
Are you interested in that from a scientific perspective, or from a visual-effects perspective? (this can make a lot of difference, that’s why I am asking)